DrumPi Studio 2.0.2
DrumPi Studio
The desktop app for turning your own recordings into layered, multi-velocity kits. Version 2.0.2.
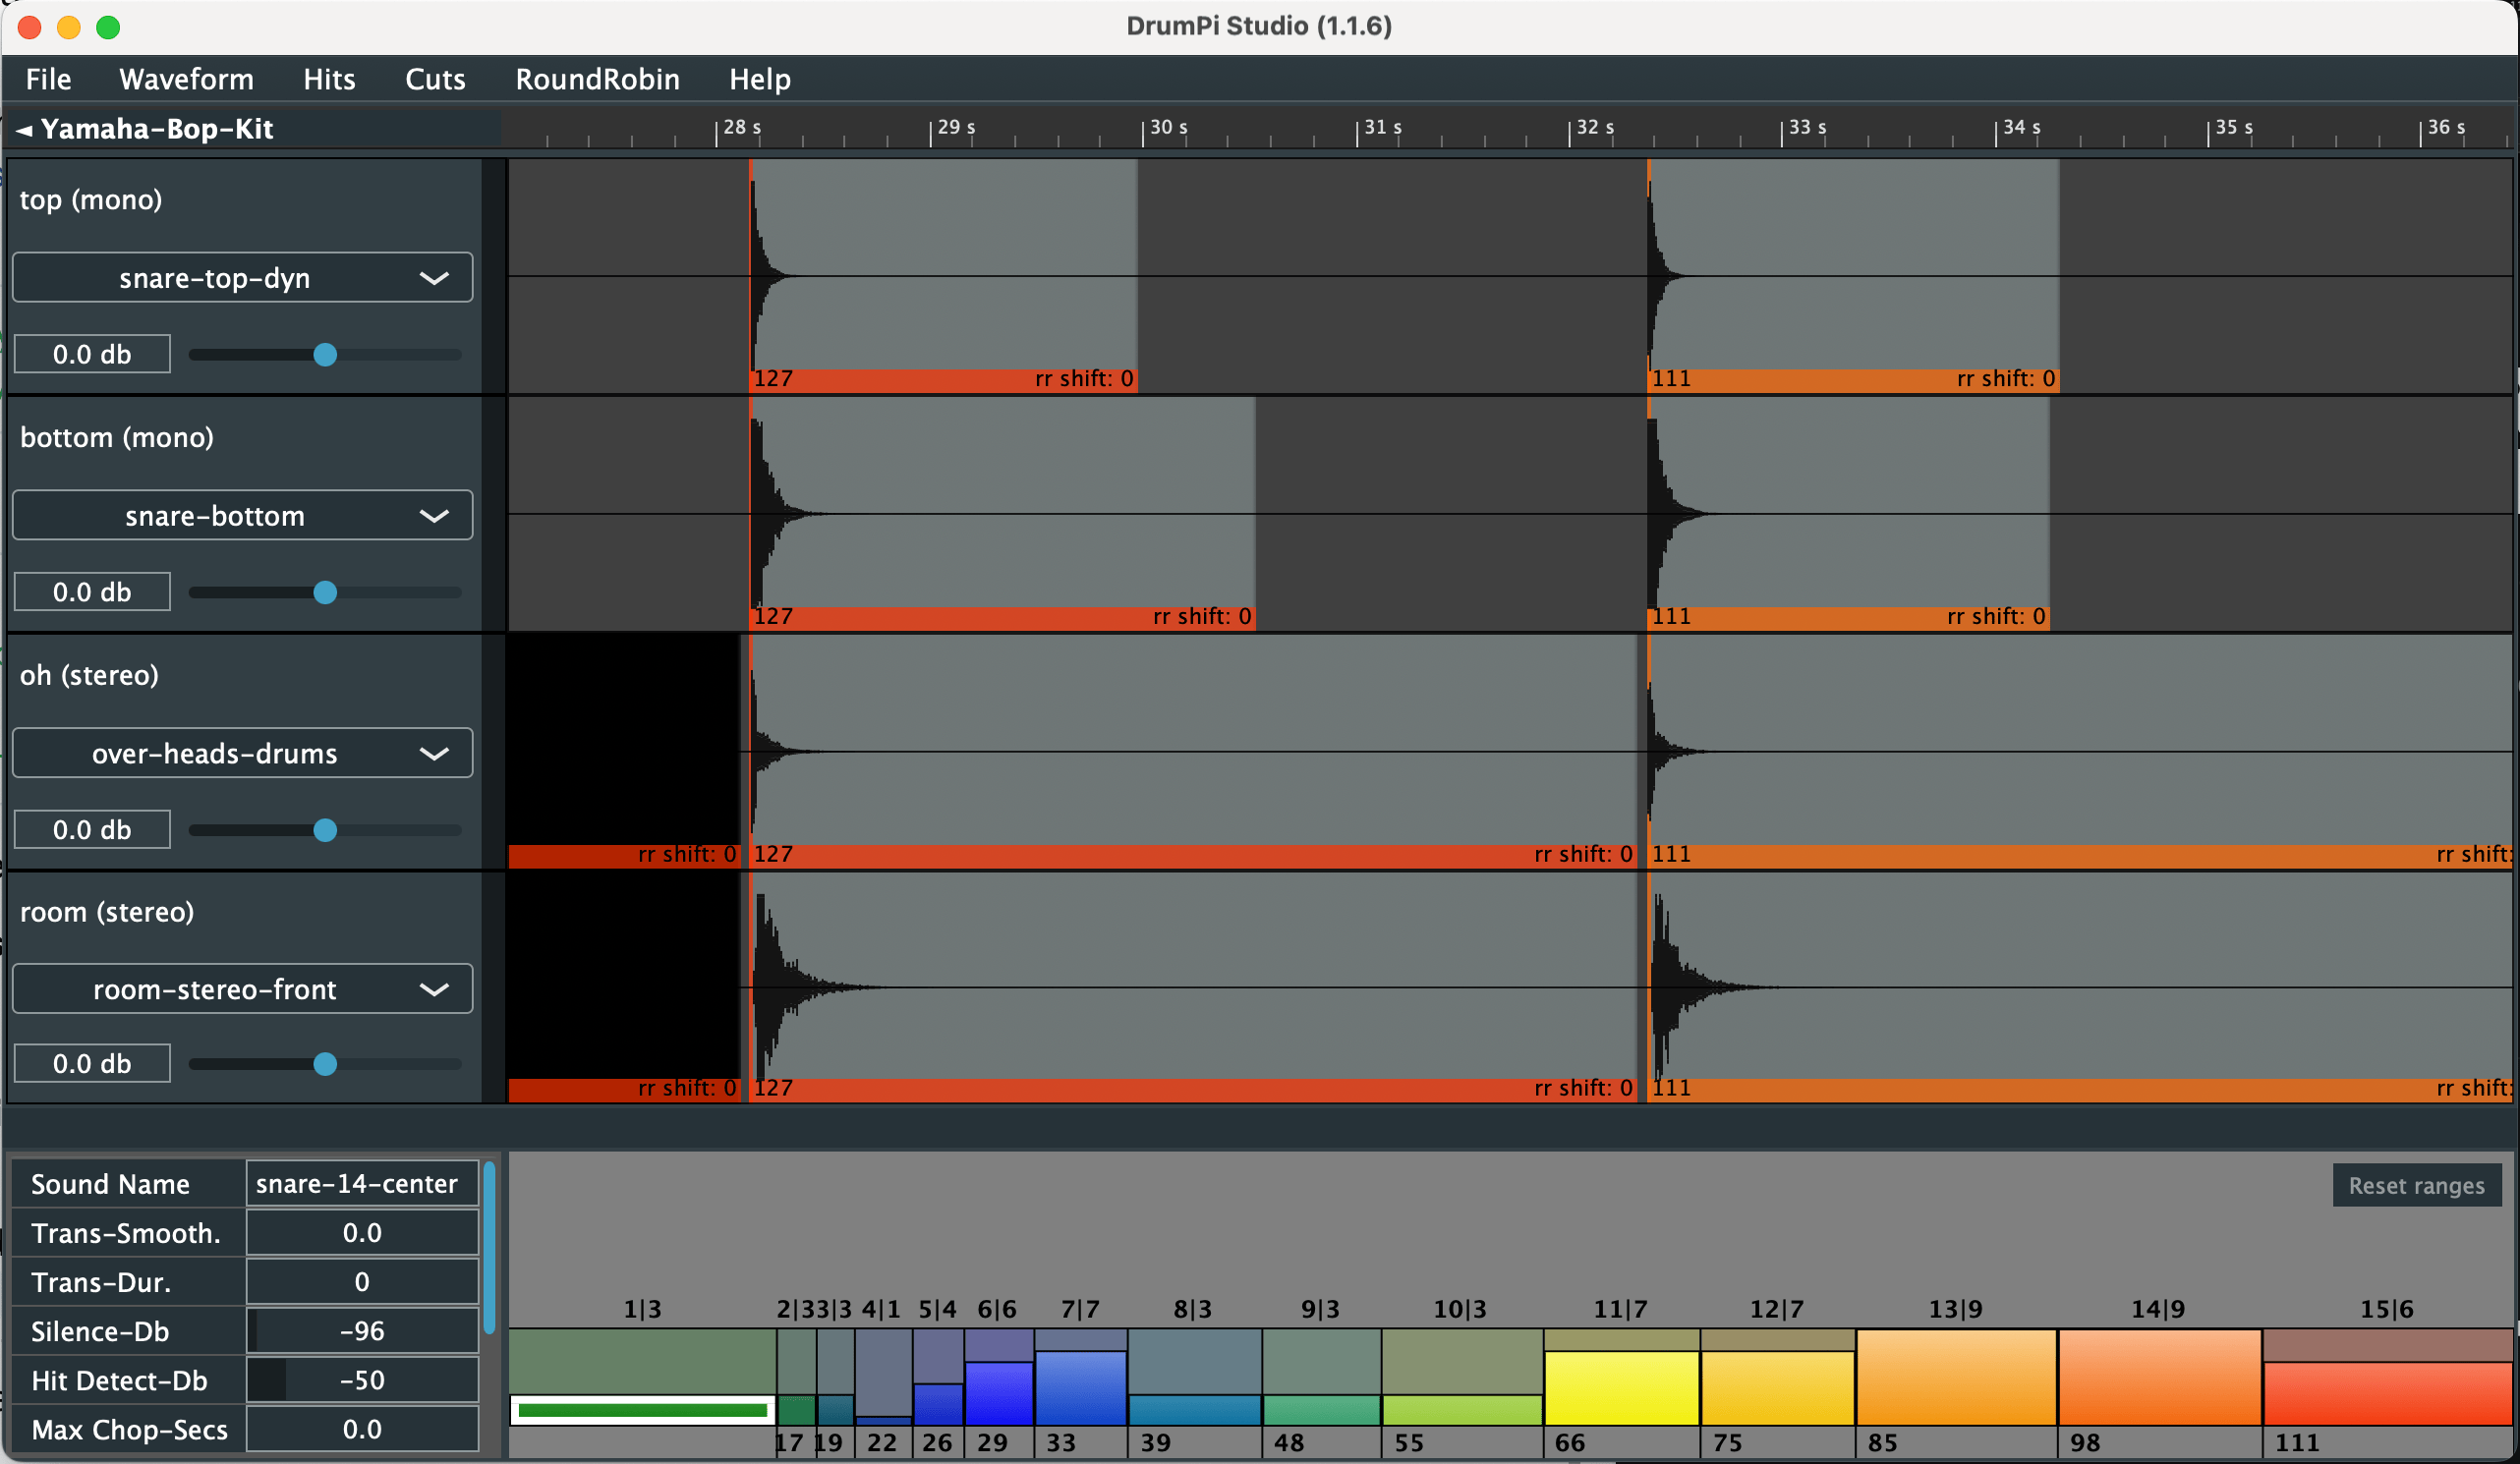
01
Why DrumPi Studio
DrumPi 0.9 introduced one of the most requested features: importing your own sounds.
Because DrumPi supports multi-velocity and multi-microphone samples, that needed dedicated software to handle large sets of WAV files, organise them and let you adjust the key parameters.
A decent snare can easily run to hundreds of files — different hits covering all the velocities, multiplied by the number of microphones the instrument was recorded with. Multiply that again by the number of articulations a kit has, and building one clearly takes some organising.
Uploading all those WAVs through the web interface and hoping for the best was never going to work. You need to see the samples, check their alignment, review how the tails are cut — to organise the work. That's why DrumPi Studio exists: a desktop app for building layered sounds and entire kits.
There are two ways to build a DrumPi sound from WAVs:
- Individual files — every hit and every microphone as a separate WAV.
- Long audio tracks — one long file per microphone, with all the hits in it.
02
Loading pre-cut samples
If you bought your samples or extracted them from a VST, you probably have hundreds of small WAVs — one per hit and per microphone. Number them consistently:
- top-1.wav, top-2.wav, top-3.wav …
- bottom-1.wav, bottom-2.wav, bottom-3.wav …
- overheads-1.wav, overheads-2.wav, overheads-3.wav …
- room-1.wav, room-2.wav, room-3.wav …
Create the kit
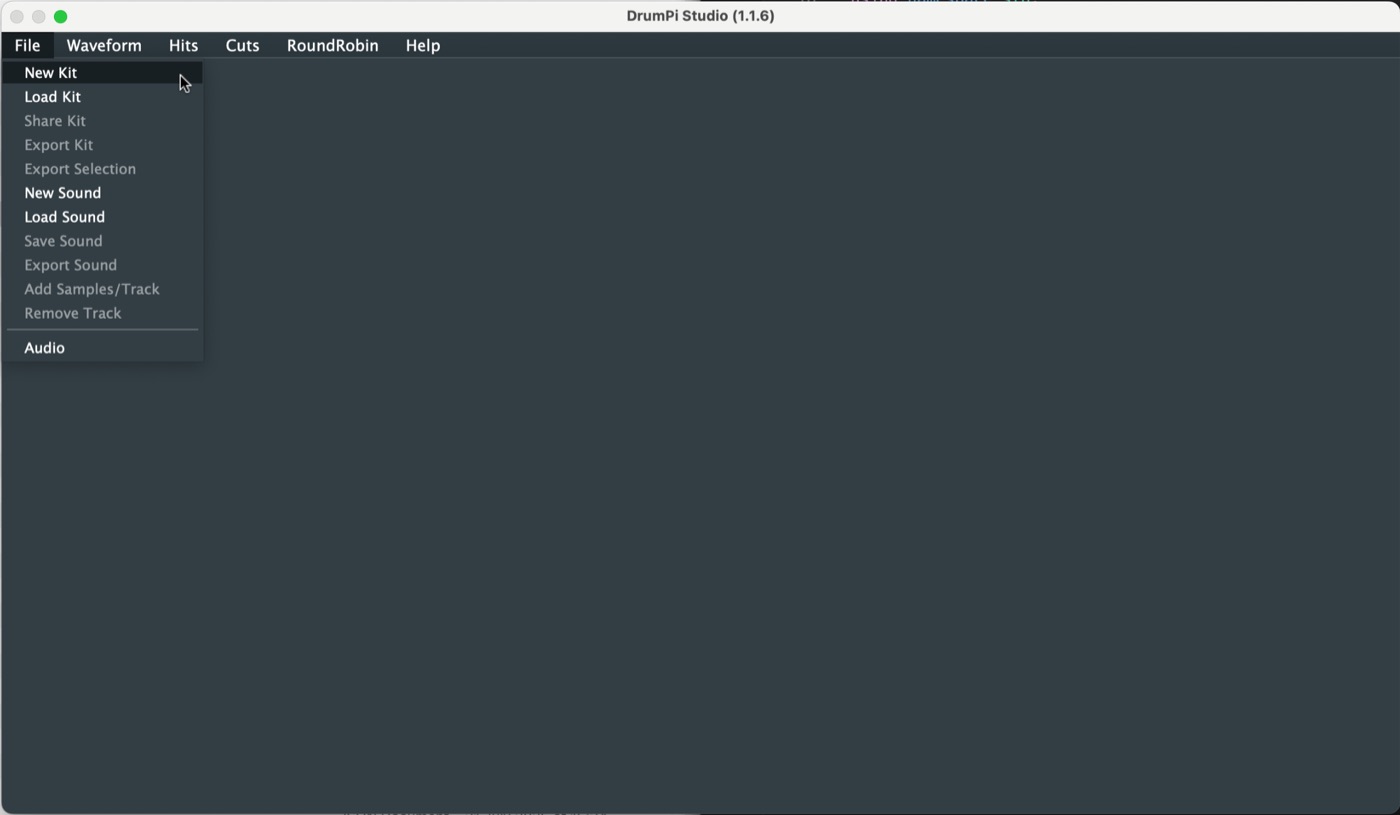
- Open DrumPi Studio and choose File → New Kit.
- Name the kit. Create a dedicated folder for the project, move all the WAV files into it, and save the kit there — keeping everything in one place makes the project far easier to manage.
- In the Kit View, click + and create your first sound. Start with the kick.
- Choose File → Add Samples/Track and multi-select all the close-mic files for that drum.
- Repeat for each microphone — out-mic, overheads, room, and so on.
03
Grouping and fine-tuning
Automatic sample grouping
DrumPi Studio groups samples automatically by their peak dB level. For a single instrument, peak level is a good indicator of how hard the drum was struck, because the timbre of the same drum changes relatively little across velocities. Across different instruments — a kick against a snare — peak level alone obviously wouldn't classify them correctly.
Grouping by peak dB and generating the velocity layers for you removes the need to define arbitrary velocity ranges and assign every sample by hand. It makes the instrument feel more natural and it removes a tedious, error-prone step.
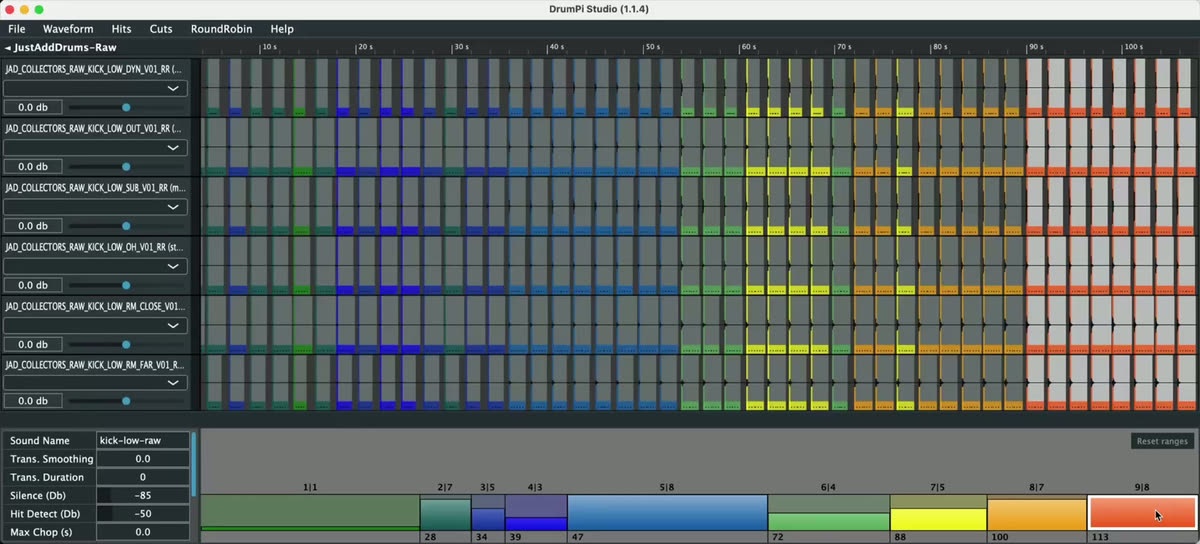
You can still adjust the ranges at any time — click the velocity chart and drag the boundaries where you want them.
Fine-tuning the grouping
Grouping purely by peak dB isn't perfect. Depending on the Separation dB you chose, a sample may feel like it belongs in the next round robin or the previous. That's normal — select it and press + or − to move it to the adjacent round robin group.
Consistency within a layer
The goal is for every velocity layer to sound consistent — similar tone, character and intensity throughout. To check, click a group in the velocity chart and press the space bar repeatedly: DrumPi Studio plays each sample in that round robin group in turn, which makes an odd one out easy to hear.
A sample can sound wrong for one of two reasons. Either it belongs in a different layer — move it with + or − — or it simply doesn't fit with the rest, in which case select it and press Backspace to exclude it from the instrument.
04
Separation, silence and fade-out
However you built your tracks, three parameters shape the result:
- Separation dB
- How samples are grouped. Higher means fewer velocity layers with more round robins each; lower means more layers with fewer round robins.
- Silence dB
- Where a hit ends — useful for trimming unnecessary silence from the tail. Zoom vertically (Alt+scroll) on the louder waveforms and check they finish naturally rather than being cut by the region.
- Fade out
- How many milliseconds before the end of the region a fade is applied.
Velocity layers and round robins
Round robins are alternate hits at the same dynamic level — four hits at a similar dB become four round robins for that velocity. The chart at the bottom of the window shows how samples are distributed across the layers and how many variations each has.
You can also choose which mixer input the track routes to, and set its pregain — though pregain is just as easily adjusted later from DrumPi's web interface.
05
Finalising the kit
Now that you can create a kit and import sounds into it, add the remaining instruments: click + and repeat the process for as many as the kit needs. The whole process, end to end:
- File → New Kit.
- Click + and create a new sound.
- Add a track for each microphone by importing its samples.
- Fine-tune the sound — make the round robin groups consistent, and adjust the import parameters if needed.
- Repeat until every sound you want is in the kit.
- Add a kit picture.
- Export the kit.
06
Loading long recorded tracks
This workflow only changes the first part of creating a kit.
Instead of importing lots of small files — one for every hit and microphone — you import the full microphone tracks. For example, for a snare you might have one file for each microphone used during the recording:
- top.wav
- bottom.wav
- overheads.wav
- room.wav
This is the workflow you would normally use when recording your own samples in a studio.
Because you are working with full microphone tracks, you need to tell DrumPi Studio where each hit starts. The end of each hit is calculated automatically.
Cutting every hit manually across all the tracks would be extremely tedious, so DrumPi Studio provides a workflow that speeds up the process considerably.
Import your microphone tracks
Import all your tracks, starting with a close microphone — for example top.wav.
Import them one at a time. Don't select top.wav, bottom.wav, overheads.wav, etc. all at once.
Once all the microphone tracks have been imported, you can start telling DrumPi Studio where each hit begins.
Mark the hits
Start from the first hit and zoom in vertically and horizontally (Ctrl + Scroll / Alt + Scroll) until you can clearly see the transient.
Press S to show hit detection.
The dotted line shows DrumPi Studio's automatic estimate of where the hit starts. It doesn't need to be perfectly accurate — the final position is up to you.
Right-click exactly where you think the hit should start.
DrumPi Studio will create the sample at that position and automatically apply the same cut to all the other microphone tracks you imported. You don't need to repeat the process for every microphone.
Then press N. DrumPi Studio will scroll forward and show you the next detected hit.
Again, right-click where you think that hit should start.
Repeat the process for all the hits:
N → right-click → N → right-click → N → right-click…
With this workflow, you can turn full multitrack recordings into individual samples in a matter of minutes.
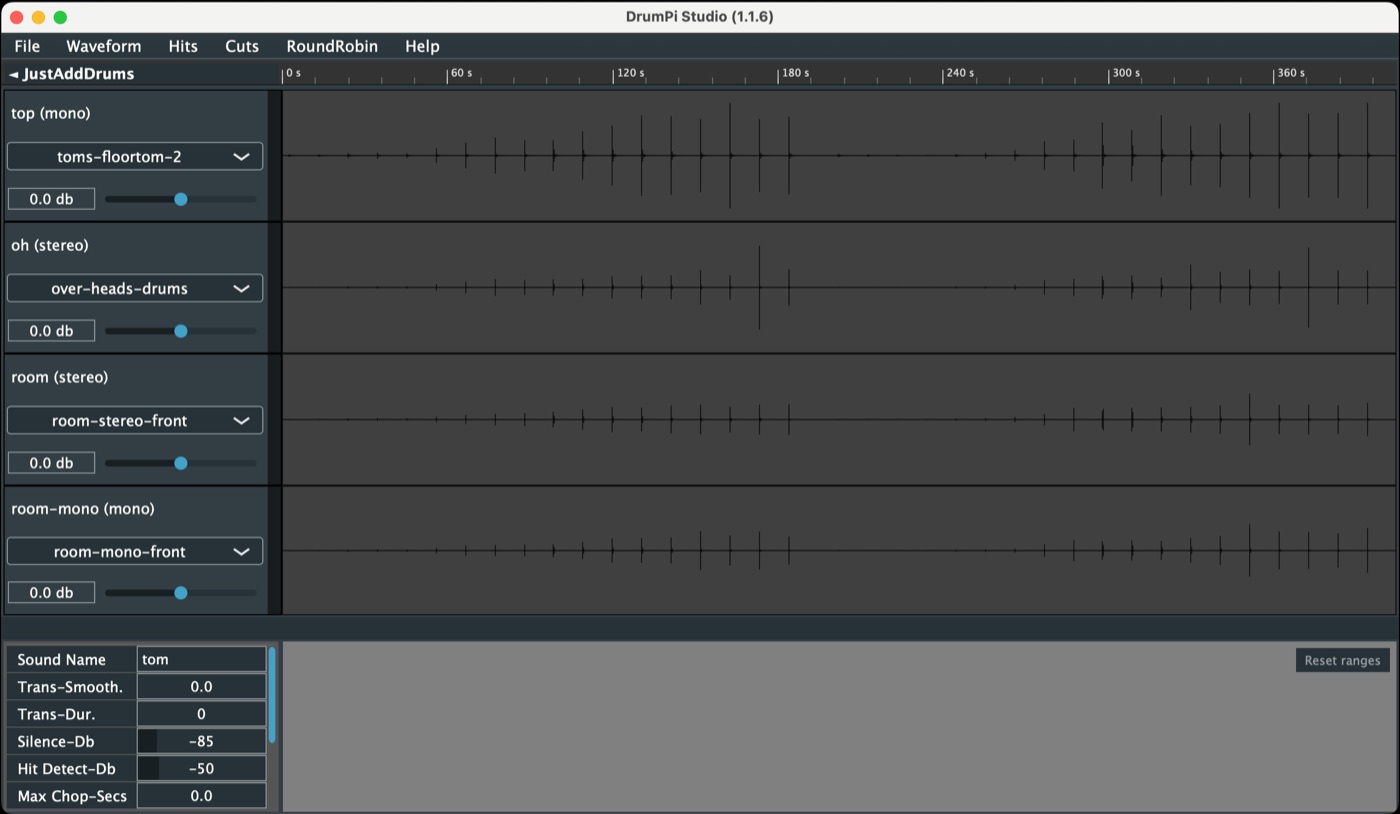
In Sound View
- Go to File → Add Samples/Track.
- Repeat this for every microphone track you recorded.
- Zoom in on the first hit, determine where it starts, and right-click.
- Press N to move to the next hit, then right-click where that hit starts.
- Repeat until you have marked all the hits you need.
From this point on, the process is identical to the workflow described in the previous section for pre-cut samples.
07
Transient shaping
Transient Attack and Transient Duration smooth out transients when hits fall very close together — during a press roll, for example.
If a press roll sounds mechanical or artificial, try a Transient Duration between 0 and 0.01 with Transient Attack set to 1. That smooths the roll and makes it sound more natural.
08
Shortcuts
The full list is in the app under Help → Keyboard Shortcuts, grouped the same way as below.
Waveform view
- Scroll
- Move waveform window
- Control + Scroll
- Zoom horizontally around cursor
- Alt + Scroll
- Zoom vertically
- Shift + Up
- Zoom vertically in
- Shift + Down
- Zoom vertically out
Audio hit detection
- S
- Show detected hit lines
- N
- Go to next detected hit
- P
- Go to previous detected hit
Cuts
- Click
- Select cut under cursor
- Right click
- Create cut
- Control + Click
- Delete cut
- Control + N
- Go to next cut
- Control + P
- Go to previous cut
- Backspace
- Enable/disable selected cut
- Space
- Play selected cut
Round robin
- +
- Move selected cut to next RR group
- −
- Move selected cut to previous RR group